Introduction
Water storage is an essential aspect of maintaining a healthy home, especially with the increasing need for efficient water management. A Smart Water Box can help you monitor and optimize your water usage, but to ensure its efficiency, it's crucial to have a reliable water testing kit. In this guide, we will walk you through how to DIY a water testing kit specifically for your Smart Water Box, ensuring you can accurately assess water quality and storage efficiency.
Why a Water Testing Kit?
Water quality is vital for both health and efficiency. With a DIY water testing kit, you can:
- Assess Water Quality: Identify contaminants and ensure safe drinking water.
- Monitor pH Levels: Maintain optimal pH for plants and household use.
- Track Hardness: Understand mineral content for better appliance performance.
- Enhance Efficiency: Ensure your Smart Water Box operates at peak performance.
Essential Tools for Your DIY Water Testing Kit
Creating a DIY water testing kit requires a few specific tools that are easily accessible. Below, we review the essential tools you will need, along with their pros and cons.
1. Test Strips
Test strips are an essential tool for quick and easy testing of various water parameters.
- Pros:
- Easy to use - just dip in water and compare colors.
- Portable and inexpensive.
- Can test multiple parameters (pH, hardness, chlorine, etc.) in one strip.
- Cons:
- Less accurate than other testing methods.
- Limited shelf life once opened.
2. Digital pH Meter
A digital pH meter provides a precise measurement of the water's acidity or alkalinity.
- Pros:
- Highly accurate readings.
- Recalibration is usually easy.
- Great for ongoing monitoring.
- Cons:
- Can be more expensive than test strips.
- Requires care and maintenance for accurate results.
3. TDS Meter (Total Dissolved Solids)
A TDS meter measures the total dissolved solids in your water, giving insight into overall water quality.
- Pros:
- Quick and easy to use, just submerge the probe.
- Can help detect contamination.
- Useful for various water sources (tap, well, etc.).
- Cons:
- Does not specify what the dissolved solids are.
- Can be less effective in very pure water.
4. Water Quality Test Kits
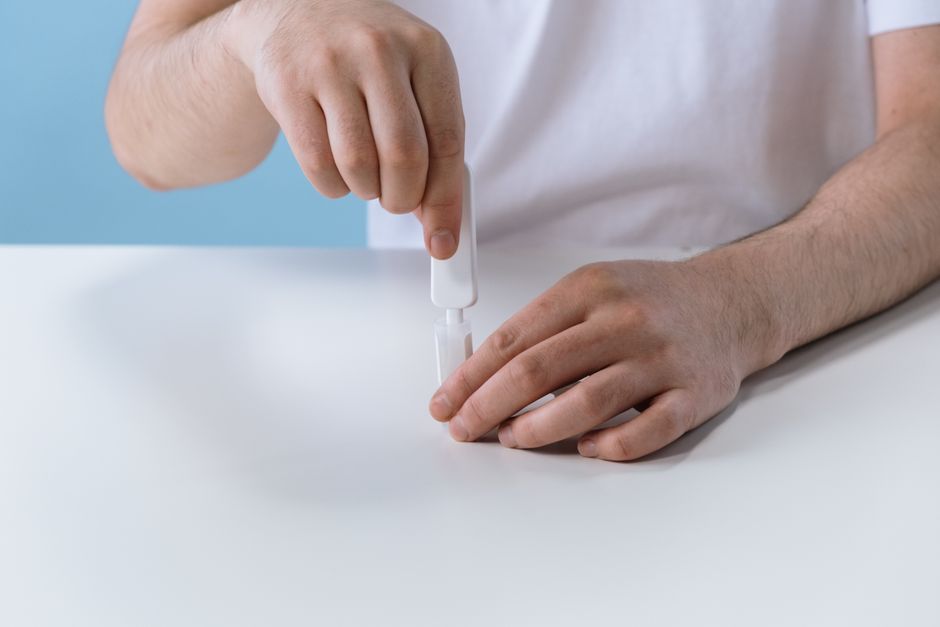
More comprehensive than test strips, these kits typically include reagents and a color chart for various tests.
- Pros:
- More thorough testing for specific contaminants.
- Often includes tests for bacteria, nitrates, and metals.
- Cons:
- Can be more complicated to use.
- Higher cost compared to simple test strips.
Step-by-Step Guide to Create Your DIY Water Testing Kit
With your tools gathered, it’s time to assemble your DIY water testing kit:
- Gather Tools: Collect all the tools and materials listed above.
- Label Containers: Use small containers or bags to keep each testing method organized. Label each container with its purpose.
- Store Properly: Keep your testing kit in a cool, dry place to ensure the longevity of your tools.
- Documentation: Create a small booklet or digital file with instructions for each testing method and the acceptable ranges for your specific water needs.
- Regular Testing: Make it a habit to test your water regularly, especially before and after significant weather changes or repairs to your Smart Water Box.
Using Your DIY Water Testing Kit
When you're ready to use your kit, follow these steps:
- Collect Water Sample: Use a clean container to collect water from your Smart Water Box.
- Perform Tests: Follow the instructions for each tool. For test strips, dip and compare. For a digital pH meter, calibrate and measure.
- Record Results: Document your findings to track changes over time.
- Make Adjustments: Based on your test results, adjust your water treatment or filtration methods as necessary.
Additional Resources
For more detailed plans and guidance on building your water systems, check out Ted Water DIY. They offer an extensive range of plans and tools to enhance your water storage and testing capabilities.
Conclusion
Creating a DIY water testing kit for your Smart Water Box is a straightforward and effective way to ensure your water quality remains at its best. With the right tools and a little bit of effort, you'll be able to monitor and adjust your water storage for maximum efficiency and safety.
FAQ
1. How often should I test my water?
It is recommended to test your water at least once a month or more frequently if there are noticeable changes in taste, odor, or appearance.
2. Can I use the same kit for different water sources?
Yes, you can use your DIY water testing kit for various water sources, but be sure to note the specific parameters and acceptable ranges for each source.
3. What should I do if my water tests indicate contamination?
If contamination is detected, consult local health authorities or water treatment professionals to determine the best course of action for purification or treatment.
📚 Related Articles
🔨 Want 16,000+ Water DIY Plans?
Get instant access to step-by-step plans with blueprints and cut lists.
Get Instant Access →