Introduction
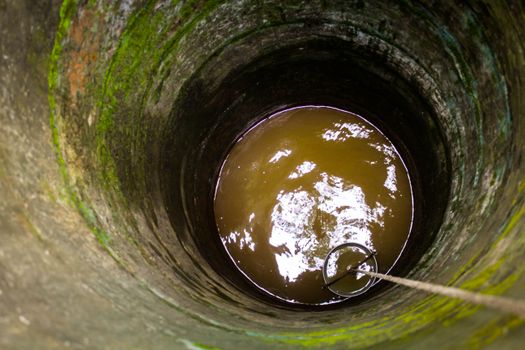
Accessing fresh water from a well is a great resource, but it comes with the responsibility of ensuring it's safe to drink. DIY filtration systems can be a cost-effective and efficient way to ensure your well water is clean and free from contaminants. This guide will walk you through a simple step-by-step process to build a DIY filtration system using basic tools and materials.
Understanding Well Water Contaminants
Before jumping into the filtration process, it's important to understand what might be lurking in your well water. Common contaminants include:
- Bacteria: Coliform bacteria can indicate the presence of harmful pathogens.
- Nitrates: Often from fertilizers, high levels can be harmful, especially to infants.
- Heavy Metals: Contaminants like lead and arsenic can leach into well water.
- Minerals: Hard water, high in calcium and magnesium, can affect taste and plumbing.
Tools and Materials Needed
Gathering the right tools and materials is crucial for building a successful DIY filtration system. Here’s what you’ll need:
- 5-gallon plastic bucket with a lid
- Sand (fine and coarse)
- Gravel (small and large stones)
- Activated carbon
- Filter fabric or mesh (to prevent clogging)
- Drill with a drill bit
- Hose or PVC pipe for water input/output
- Measuring cup
- Marker
Step-by-Step DIY Filtration System
Step 1: Prepare the Bucket
Start by preparing your 5-gallon bucket. Using the drill, create a hole near the bottom of the bucket for water to exit. This will be your filtered water output. If you're using a hose, insert it into the hole and seal it well to prevent leaks.
Step 2: Add Filter Layers
Layering is crucial for effective filtration. Here’s how to do it:
- First Layer: Place a piece of filter fabric or mesh at the bottom of the bucket to hold the layers above.
- Second Layer: Add a layer of coarse gravel (about 2 inches). This helps with drainage.
- Third Layer: Follow with a layer of fine gravel (about 2 inches). This further helps to filter out larger particles.
- Fourth Layer: Next, add activated carbon (about 2 inches). This layer is crucial as it removes chemicals and impurities.
- Fifth Layer: Finally, add a layer of sand (about 4 inches). This will catch smaller particles and improve the clarity of your water.
Step 3: Final Assembly
After layering, place the lid securely on the bucket. Make sure the bucket is placed in an area where it will not be disturbed, as the filtration process may take some time. The water will flow through each layer, with contaminants being trapped in the sand and carbon layers.
Step 4: Testing Your Water
Once your system is set up, it’s important to test your well water before and after filtration. You can purchase a water testing kit or send samples to a local lab to check for contaminants. This will give you a clear understanding of the effectiveness of your DIY filtration system.
Step 5: Maintenance of Your Filtration System
To keep your DIY filtration system working efficiently, regular maintenance is required:
- Check the layers every few months and replace the activated carbon and sand as needed.
- Clean the bucket to prevent algae growth and bacterial contamination.
- Perform regular water tests to ensure safety.
Additional Resources
If you are looking for more detailed plans and options, Ted Water DIY offers a variety of resources for building effective water filtration systems. Whether you are a beginner or looking for advanced solutions, you can find valuable information and guidance.
Conclusion
Building a DIY filtration system for your well water can be a rewarding project that ensures the safety and quality of your drinking water. By following these simple steps, you can take control of your water source and enjoy clean water for you and your family.
FAQ
1. How often should I test my well water?
It is recommended to test your well water at least once a year for bacteria, nitrates, and other contaminants.
2. Can I use this system for other water sources?
Yes, this DIY filtration system can be adapted for use with other water sources, but it's essential to test the water first.
3. What if my water still smells or tastes bad after filtration?
If your water still has an unpleasant taste or smell after filtration, consider adding additional filtration methods or consulting a professional for advice.
📚 Related Articles
🔨 Want 16,000+ Water DIY Plans?
Get instant access to step-by-step plans with blueprints and cut lists.
Get Instant Access →