Introduction to DIY Water Harvesting
Water harvesting is an excellent way to conserve water, reduce your utility bills, and promote sustainable gardening practices. Implementing a DIY water harvesting system in your backyard can not only help you manage water usage effectively but can also provide a reliable source of irrigation for your plants. In this article, we will explore the tools necessary for building a water harvesting system and provide a step-by-step guide to get you started.
Understanding Water Harvesting Systems
A water harvesting system collects rainwater or runoff from surfaces like rooftops and stores it for later use. This collected water can be used for various purposes, including irrigation, washing, or even drinking (with proper filtration). Let's dive into the essential tools you will need for your DIY project.
Essential Tools for DIY Water Harvesting
When it comes to building a water harvesting system, having the right tools is crucial. Below is a list of tools you will need, along with their pros and cons:
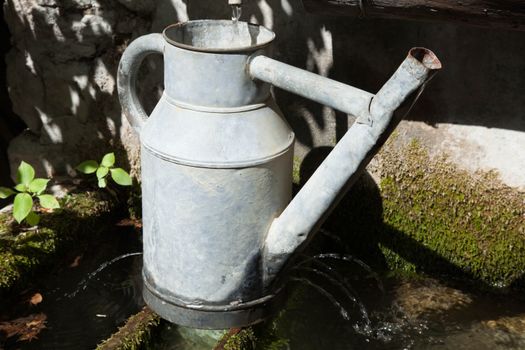
1. Rain Barrel
- Pros: Easy to install, available in various sizes, and can be made from recycled materials.
- Cons: Limited capacity; may require multiple barrels for larger systems.
Rain barrels are the cornerstone of a DIY water harvesting system. They collect rainwater from your roof via gutters and downspouts. Make sure to choose a barrel that has a lid to prevent mosquito breeding and debris accumulation.
2. Gutter System
- Pros: Directs rainwater flow efficiently; helps prevent water damage to your home.
- Cons: Installation can be tricky; may require maintenance to prevent clogging.
A proper gutter system ensures that rainwater is directed from your roof to the rain barrel. Ensure that gutters are cleaned regularly to avoid blockages.
3. First Flush Diverter
- Pros: Keeps debris and contaminants out of the rain barrel; easy to install.
- Cons: May require additional maintenance; can be costly.
A first flush diverter helps improve the quality of your harvested water by diverting the initial dirty runoff away from the storage system. This is especially important if your roof collects contaminants.
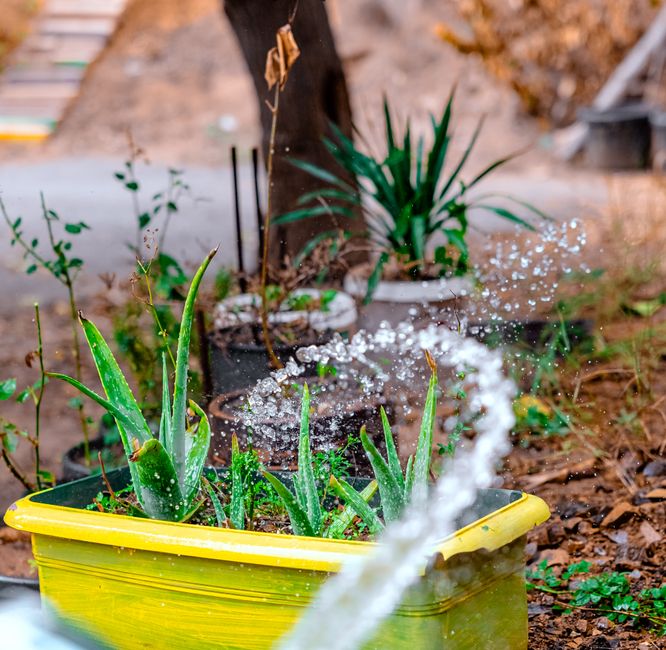
4. Hose and Sprinkler System
- Pros: Flexible and easy to use; can efficiently water your garden.
- Cons: Can be prone to leaks; needs proper storage when not in use.
A hose connected to the rain barrel allows you to easily direct water to your plants. A sprinkler system can automate watering, ensuring your plants get the water they need when they need it.
5. Water Pump
- Pros: Can increase water pressure; allows for irrigation over large areas.
- Cons: Requires electricity; may need regular maintenance.
If you plan to use harvested rainwater for irrigation, a water pump will help distribute water efficiently, especially if your garden is far from the rain barrel.
Step-by-Step Guide to Building Your DIY Water Harvesting System
Now that you have the necessary tools, it’s time to implement your water harvesting system. Here’s a simple guide to get you started:
Step 1: Plan Your System
Identify the best location for your rain barrel, preferably close to a downspout. Measure the area and ensure you have a suitable surface for placement.
Step 2: Install the Gutter System
If you don’t already have gutters, install them according to local building codes. Ensure that they direct water towards your rain barrel.
Step 3: Set Up the Rain Barrel
Place the rain barrel under the downspout. You may need to elevate it on a platform to improve water pressure. Connect the first flush diverter to ensure clean water collection.
Step 4: Connect the Hose and Sprinkler System
Attach a hose to the rain barrel spigot. If you’re using a pump, connect it according to the manufacturer’s instructions.
Step 5: Test Your System
After installation, test the system during the next rain. Monitor the flow of water and check for any leaks or blockages.
Resource for DIY Plans
For detailed plans and additional guidance, consider checking out Ted Water DIY. They provide comprehensive resources that can help you customize your water harvesting system to fit your needs.
Conclusion
Implementing a DIY water harvesting system in your backyard is an effective way to conserve water and ensure your plants thrive. By investing in the right tools and following the steps outlined above, you can create a sustainable water source that benefits both your garden and the environment.
FAQ
1. Can I drink rainwater collected in a rain barrel?
While rainwater can be safe to drink, it is essential to filter and purify it first. It's best to consult local regulations regarding the collection and use of rainwater for drinking purposes.
2. How much water can I realistically collect?
The amount of water you can collect depends on your roof size and the amount of rainfall in your area. A typical rain barrel can hold about 50-80 gallons of water, so with adequate rainfall, you can significantly increase your water storage.
3. How do I maintain my water harvesting system?
Regular maintenance includes cleaning gutters, checking for leaks, and ensuring that the first flush diverter is functioning properly. Clean the rain barrel periodically to prevent algae growth and other contaminants.
📚 Related Articles
🔨 Want 16,000+ Water DIY Plans?
Get instant access to step-by-step plans with blueprints and cut lists.
Get Instant Access →