Introduction to DIY Rainwater Purification
Collecting and purifying rainwater is a sustainable practice that not only helps conserve water but also provides you with a reliable source of clean water for various uses. In this guide, we will walk you through simple steps to create your own rainwater purification system at home, using basic tools and materials.
Why Purify Rainwater?
Rainwater can be collected directly from your roof, but it often contains impurities such as dust, bird droppings, and other contaminants. Purifying rainwater ensures that it is safe for drinking, cooking, and other household uses. With a DIY rainwater purification system, you can:
- Reduce your water bill by utilizing free water from the sky.
- Contribute to environmental sustainability by decreasing reliance on municipal water supplies.
- Ensure a backup water supply in case of emergencies.
Essential Materials and Tools
Before you start building your rainwater purification system, gather the following materials and tools:
- Materials:
- Rain barrel or storage tank
- First flush diverter
- Filter (sand, gravel, or activated carbon)
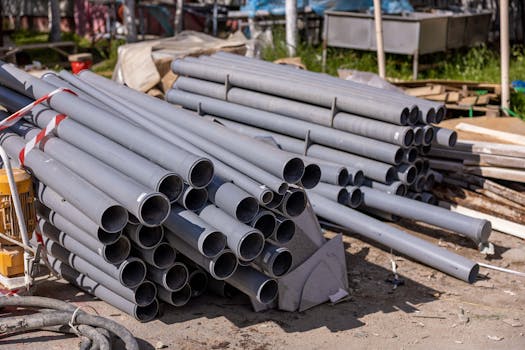
- Plumbing fittings (pipes, connectors)
- Water testing kit (optional)
- Tools:
- Drill
- Hacksaw or pipe cutter
- Wrench
- Measuring tape
- Level
Step-by-Step Guide to Building Your Rainwater Purification System
Step 1: Choose Your Location
Select a suitable location for your rain barrel or storage tank. It should ideally be placed under a downspout to catch the rainwater effectively. Ensure that the ground is level to prevent any tipping or spilling.
Step 2: Install the First Flush Diverter
A first flush diverter is crucial as it helps to divert the initial dirty water that comes from the roof when it rains. This ensures that the cleaner water is collected in your barrel. Follow these steps:
- Attach the diverter to the downspout, following the manufacturer’s instructions.
- Connect the diverter to the rain barrel using the appropriate fittings.
Step 3: Set Up the Rain Barrel
Place your rain barrel in the designated location. Make sure it is elevated slightly to allow for easy access to the spigot at the bottom. You can use bricks or a wooden platform for elevation.
Step 4: Add a Filtration System
To purify the collected rainwater, you will need to add a filtration system. You can create a simple filter using sand and gravel:
- Cut a hole in the top of the rain barrel for the filter to fit.
- Layer the bottom with gravel, then add a layer of sand on top.
- You can also use activated carbon for better filtration.
Step 5: Connect the Plumbing
Use plumbing fittings to connect your rain barrel to any additional storage tanks or garden hoses. Ensure all connections are tight to prevent leaks.
Step 6: Test Your System
After everything is set up, wait for a rain to fill your barrel. You can use a water testing kit to check for contaminants in the collected rainwater. This will help you determine if your filtration system is effective.
Maintenance Tips for Your Rainwater Purification System
To ensure that your rainwater purification system functions efficiently, regular maintenance is key. Here are some tips:
- Clean the first flush diverter and rain barrel periodically to remove debris.
- Replace the filter material every few months, depending on usage.
- Check for any leaks in the plumbing connections.
Conclusion
Building a DIY rainwater purification system is a rewarding project that can provide you with clean water while promoting sustainability. With basic tools and materials, you can set up a system that meets your household needs. For detailed plans and additional resources, consider checking out Ted Water DIY.
FAQs
1. Is rainwater safe to drink after purification?
Yes, after proper purification and filtration, rainwater can be safe to drink. Always test the water quality before consumption.
2. How often should I clean my rainwater system?
It is recommended to clean your rainwater system at least twice a year, or more frequently if you notice debris buildup.
3. Can I use rainwater for gardening?
Yes, rainwater is excellent for gardening as it is free from chemicals found in municipal water. Just ensure it is filtered if you plan to use it for edible plants.
📚 Related Articles
🔨 Want 16,000+ Water DIY Plans?
Get instant access to step-by-step plans with blueprints and cut lists.
Get Instant Access →