Introduction
In times of emergency, having access to clean water is crucial. Whether you are camping in the wilderness or facing a natural disaster, a portable water filtration system can be a lifesaver. In this guide, we will walk you through the steps to build your own affordable water filtration system using budget-friendly materials.
Why Build Your Own Water Filtration System?
Building your own portable water filtration system has several advantages:
- Cost-effective: You can create a high-quality filter without spending a fortune.
- Customization: Tailor the system to meet your specific needs and preferences.
- Knowledge and Skills: Gain valuable DIY skills while preparing for emergencies.
Materials Needed
Here is a list of affordable materials you will need for this project:
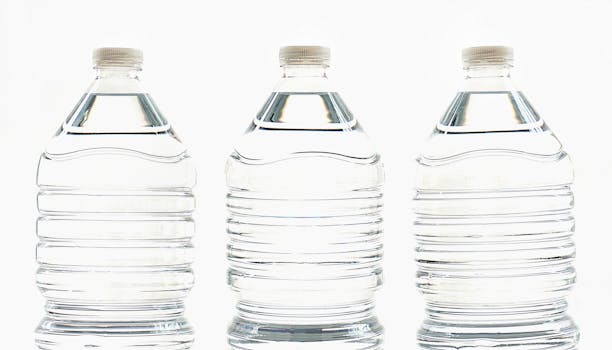
- Plastic water bottles: These will serve as the main housing for your filter.
- Activated charcoal: This will help remove impurities and improve water taste.
- Sand: Acts as a pre-filter and helps remove larger debris.
- Gravel: Aids in filtering out smaller particles.
- Coffee filter or cheesecloth: This will prevent the filter materials from escaping the bottles.
- Scissors or a knife: For cutting the plastic bottles.
- Funnel: To assist in filling the filter with water.
Steps to Build Your Portable Water Filtration System
Step 1: Prepare the Bottles
Start by cutting the bottoms off two plastic water bottles. These will be used as the filter housing. Make sure the cuts are smooth to avoid any sharp edges.
Step 2: Layer the Filter Materials
Take one of the bottles (the top one) and place a coffee filter or a piece of cheesecloth at the neck of the bottle. This will act as the first line of defense against larger particles.
Next, start layering your filter materials:
- Gravel: Add a couple of inches of gravel at the bottom.
- Sand: On top of the gravel, add a layer of sand, about 2-3 inches thick.
- Activated Charcoal: Add a layer of activated charcoal to further purify the water.
Ensure each layer is evenly distributed to maximize filtration effectiveness.
Step 3: Assemble the Filtration System
Now, invert the top bottle with the filter materials into the bottom bottle. The top bottle should sit snugly in the neck of the bottom bottle, allowing any filtered water to collect in the bottom bottle.
Step 4: Test the Filter
Before relying on your filter in an emergency, it is essential to test it. Use water from a safe source, like tap water, and run it through the filter. Collect the filtered water in the bottom bottle and check for clarity and odor. If the water looks and smells clean, your filter is ready for use.
Cost-Saving Tips
Here are some tips to keep your costs down while building your portable water filtration system:
- Reuse Materials: Use old plastic bottles and leftover materials from previous projects.
- Buy in Bulk: Purchase activated charcoal and other materials in bulk to save money.
- Local Sources: Check local stores for discounts or second-hand supplies.
For more detailed plans and resources, consider visiting Ted Water DIY, which offers a wide range of DIY water filtration projects and guides.
Maintenance and Care
Regular maintenance of your water filtration system is essential to ensure its effectiveness:
- Replace the filter materials every few months or after heavy use.
- Clean the bottles thoroughly to prevent bacterial growth.
- Store the system in a cool, dry place when not in use.
Conclusion
Creating a portable water filtration system is a simple, cost-effective solution for ensuring access to clean water during outdoor emergencies. With just a few materials and some basic DIY skills, you can build a reliable filter that can make a difference in survival situations.
FAQ
1. How often should I replace the filter materials?
It is recommended to replace the filter materials every few months or after heavy use to ensure optimal performance.
2. Can I use this filtration system for saltwater?
No, this filtration system is not designed to filter saltwater. It is only effective for freshwater sources.
3. Is it safe to drink water filtered through this system?
While this system can remove many impurities, it is best to test the filtered water. Always use a secondary purification method, like boiling, if the water source is questionable.
📚 Related Articles
🔨 Want 16,000+ Water DIY Plans?
Get instant access to step-by-step plans with blueprints and cut lists.
Get Instant Access →