Introduction
Water harvesting is an efficient way to collect and store rainwater for various uses in your backyard. Not only does it help conserve water, but it also reduces utility bills and promotes sustainable living. In this article, we will explore advanced techniques for creating a DIY water harvesting system that focuses on precision joinery and a professional finish.
Understanding Your Water Harvesting Needs
Before diving into the construction process, it is essential to assess your water harvesting requirements. Consider the following factors:
- Roof Area: Calculate the amount of rainwater you can collect based on the size of your roof.
- Storage Capacity: Determine how much water you need to store based on your usage.
- Local Climate: Understand your local rainfall patterns to optimize your system.
Materials and Tools
To achieve a professional-grade finish, having the right materials and tools is crucial. Here’s a list of what you’ll need:
- Materials:
- Rainwater collection barrel or tank
- Downspout diverter
- Filtration system
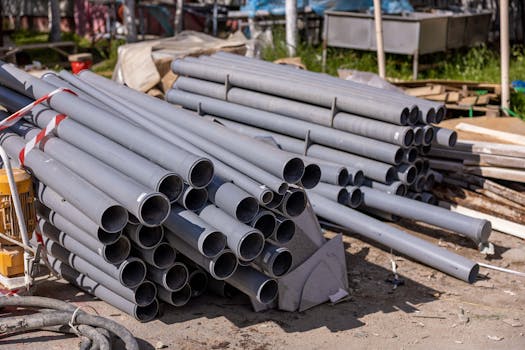
- PVC pipes and fittings
- Overflow outlet
- Connecting hoses
- Sealants and adhesives
- Tools:
- Drill and drill bits
- Measuring tape
- Saw (circular or miter)
- Level
- Wrench set
- Hand tools (screwdrivers, pliers)
- Clamps
Step-by-Step Guide to Building Your Water Harvesting System
Step 1: Planning and Design
Start by sketching a design that details how the system will work. Include the placement of the rain barrel, downspouts, and any necessary filtration systems. Pay special attention to the angle of the roof and the direction of water flow.
Step 2: Preparing Your Site
Choose a location for your rain barrel that is close to your downspouts and where it can blend aesthetically into your landscape. Ensure the ground is level to prevent any structural issues.
Step 3: Constructing the Base
To achieve a professional finish, construct a solid base for your rain barrel. Use pressure-treated lumber and precision joinery techniques:
- Cut the lumber to size and create a rectangular frame.
- Use pocket hole joinery for strong, hidden joints.
- Sand down any rough edges to create a smooth surface.
- Finish the base with an outdoor wood sealant to protect against moisture.
Step 4: Installing the Rain Barrel
Position your rain barrel on the base. Secure it using brackets to prevent movement. Drill a hole at the bottom of the barrel for the outlet, ensuring it is watertight with sealant.
Step 5: Setting Up the Downspout Diverter
Install a downspout diverter to direct rainwater from your gutters into the rain barrel. This component is crucial for maintaining a professional look:
- Use a level to ensure the diverter is straight.
- Cut the downspout carefully using a saw, ensuring clean edges.
- Connect the diverter to the downspout and the barrel using PVC pipes and fittings.
Step 6: Incorporating a Filtration System
A filtration system is essential to keep your collected water clean. Install a pre-filter at the entry point of the rain barrel:
- Choose a mesh filter that can capture leaves and debris.
- Secure it with clamps or adhesives to prevent leaks.
Step 7: Overflow and Drainage
Plan for overflow by installing an outlet near the top of the barrel. This will help manage excess water during heavy rains:
- Drill a hole and attach an overflow pipe that directs water away from the foundation of your home.
- Ensure all connections are sealed properly to prevent leaks.
Step 8: Final Touches
Once everything is installed, give your system a professional finish:
- Paint or stain the rain barrel to match your home.
- Landscape around the area to enhance aesthetics.
- Regularly check for leaks and maintain your filtration system.
Resources for DIY Water Harvesting Plans
If you’re looking for detailed plans and additional guidance, consider visiting Ted Water DIY. This resource provides a variety of plans to help you design and implement your own water harvesting systems effectively.
Conclusion
Implementing a DIY water harvesting system in your backyard not only contributes to water conservation but also enhances your landscaping. By focusing on precision joinery, proper planning, and a professional finish, you can create an efficient and stunning addition to your home.
FAQs
1. Can I use any type of barrel for water harvesting?
While you can use various types of barrels, make sure they are food-grade and safe for storing water. Avoid barrels that previously contained harmful chemicals.
2. How often should I clean my rainwater harvesting system?
Regular maintenance is essential. Clean the filters and inspect the system at least twice a year, preferably before and after the rainy season.
3. Is rainwater safe for drinking?
Rainwater can be safe for drinking if properly filtered and treated. However, check local regulations and consider installing a more advanced filtration system for potable water.
📚 Related Articles
🔨 Want 16,000+ Water DIY Plans?
Get instant access to step-by-step plans with blueprints and cut lists.
Get Instant Access →