The Ultimate Guide to DIY Well Water Filtration: Step-by-Step Instructions
If you rely on well water for your household needs, ensuring that your water is clean and safe is essential. DIY water filtration systems can be an excellent solution, allowing you to save money while gaining the peace of mind that comes with knowing your water is filtered. This guide will walk you through the process of building a cost-effective well water filtration system from scratch, focusing on budget-friendly materials and methods.
Why Filtration is Important
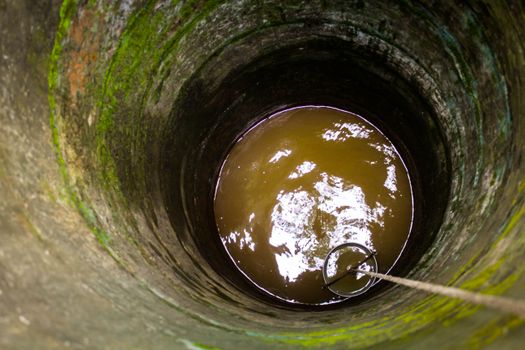
Well water can contain various contaminants, including bacteria, sediments, and chemicals. A filtration system helps to remove these impurities, ensuring that the water you drink, cook with, and use for bathing is safe. Additionally, filtering your well water can improve its taste and odor.
Materials Needed
Creating a DIY filtration system does not require expensive equipment. Here’s a list of affordable materials you will need:
- 5-Gallon Buckets: Use food-grade plastic buckets for the filtration system.
- Sand: Clean and coarse sand will act as a primary filtering agent.
- Gravel: Small stones will help with drainage and sediment filtration.
- Activated Carbon: This will help remove chlorine, sediment, and volatile organic compounds (VOCs).
- Cheesecloth or Fine Mesh Screen: To prevent particles from escaping the filter.
- Drill with a Hole Saw Bit: For making holes in the buckets.
- PVC Pipe (optional): For directing water flow, if desired.
- Water Testing Kits: To check the effectiveness of your filtration system.
Step-by-Step Instructions
Step 1: Prepare the Buckets
Start by taking two 5-gallon buckets. One will be your filtration bucket, while the other will collect the filtered water. Use a drill and hole saw bit to create a hole in the bottom of the filtration bucket. The hole should be just large enough to fit a PVC pipe or a spout for water to flow into the collection bucket.
Step 2: Layer the Filtration Media
Now, it’s time to layer the filtration materials in the filtration bucket. Follow these layers from bottom to top:
- Gravel: Start with a 2-inch layer of gravel at the bottom. This layer aids in drainage.
- Sand: Add a 4-inch layer of clean sand on top of the gravel. Sand filters out larger particles.
- Activated Carbon: Finally, add a 2-inch layer of activated carbon. This layer will help remove chemicals and improve taste.
Step 3: Cover the Layers
To prevent the filtration media from mixing and to keep larger particles from entering the filter, cover the top of the sand layer with cheesecloth or a fine mesh screen. This will help contain the materials while allowing water to flow through.
Step 4: Assemble the System
Place the filtration bucket on top of the collection bucket. Make sure the hole you drilled is aligned with the top of the collection bucket. If you opted to use a PVC pipe, insert it into the hole to help direct the flow of water into the collection bucket.
Step 5: Test Your System
Before using your DIY filtration system for drinking water, it is essential to test the water quality. Use your water testing kits to check for contaminants and ensure that your system is working effectively. If necessary, adjust the layers or add more filtration media.
Maintenance Tips for Your DIY Filtration System
To keep your well water filtration system functioning effectively, regular maintenance is crucial:
- Check and Replace Filters: The sand and activated carbon should be replaced every 6-12 months, depending on usage.
- Clean the Buckets: Regularly clean the buckets to prevent bacterial growth and sediment build-up.
- Conduct Regular Water Tests: Test the filtered water periodically to ensure it remains free of contaminants.
Where to Find More Resources
If you're looking for more detailed plans or insights on building and maintaining your water filtration system, consider visiting Ted Water DIY. They provide a variety of resources for DIY water filtration projects that can help you further optimize your system.
Conclusion
Building your own well water filtration system can be a fulfilling and cost-effective project that ensures your water is clean and safe. By utilizing affordable materials and following the steps outlined in this guide, you can create a reliable system tailored to your needs. Don't forget to perform regular maintenance to keep your filtration system in top shape.
FAQ
1. How often should I replace the activated carbon in my filtration system?
It is recommended to replace the activated carbon every 6-12 months, depending on your water usage and quality.
2. Can I use this system for drinking water?
Yes, this DIY filtration system can be used for drinking water, but it is essential to test the water quality regularly.
3. What should I do if my water quality does not improve?
If your water quality does not improve, consider adjusting the filtration layers or seeking professional advice for more advanced filtration options.
📚 Related Articles
🔨 Want 16,000+ Water DIY Plans?
Get instant access to step-by-step plans with blueprints and cut lists.
Get Instant Access →